Now that everything is posed and organized right, let’s apply our textures to these characters. In Blender, we made each character use just a few materials. I’ll click on “TopBody” in the hierarchy and check the inspector.
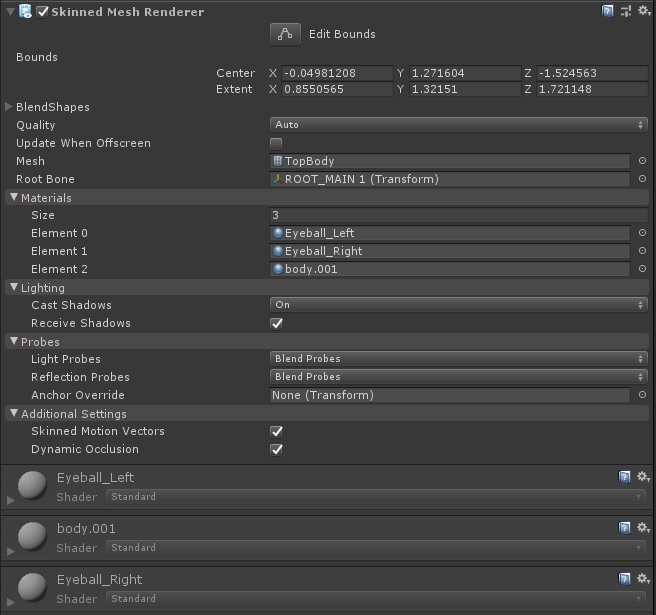
There’s a lot there, but we only care about a couple things. In the “Materials” section, this is where we assign materials for our mesh. These are the same material names as we had in Blender, but it doesn’t carry over the materials we made in there. We have to make new ones to replace the default white ones in there now.
Making materials is simple, and we just need to right-click in the Project tab, and choose Create –> Material to make a new material show up in there.
Rename the material, and drag-and-drop it into the slot we want to replace. I will make 3 materials called Top Left Eye, Top Right Eye, and Top Body. I’ll drag those into the slots in the inspector.
Now it looks like this:
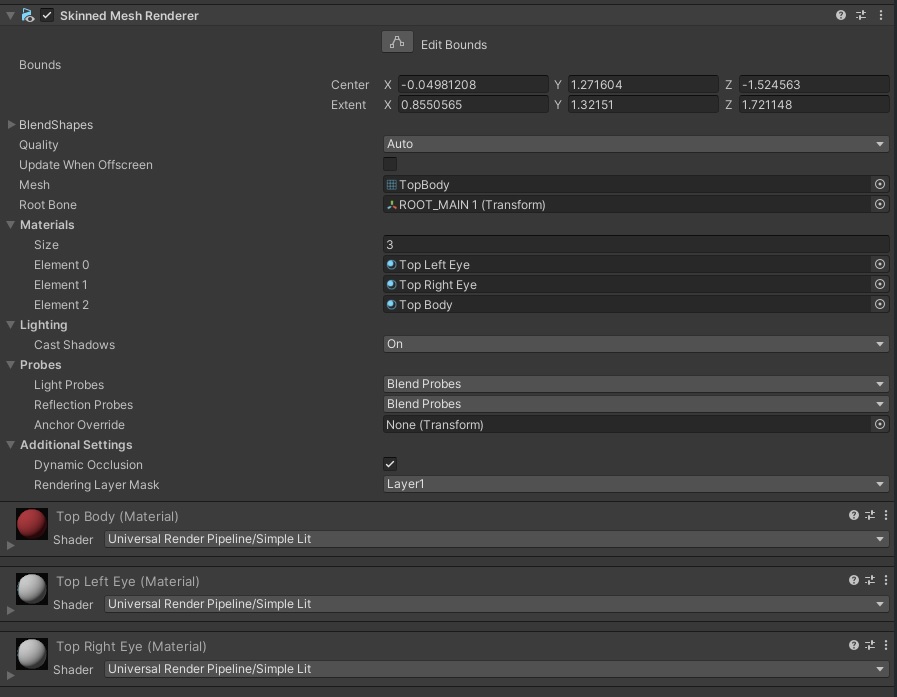
You may have noticed that you can now change the Shader dropdown on each of the materials. Unity includes a variety of shaders, and some are included with the Besti SDK. Two of particular note are:
- The standard shader
- The mobile diffuse shader
The Unity standard shader is very similar to the Blender “Principled” shader. You can create most materials in the standard shader. If you are targeting Quest, try to use a lighter weight shader like the mobile diffuse shader, but if you need the features of the standard shader, make sure you disable the specular highlights option on the shader because the Quest really doesn’t like this.
If these shaders don’t fit your needs, you can:
- Write your own shader by hand in HLSL.
- Use the commercially available shader editor Amplify Shader Editor.
If you have custom code that needs to run on the shader, we will need to compile that code into the binary for you. Just write in and we’ll include your code in the next update.
For the sake of the demo, let’s use mobile diffuse shaders so I don’t need to make two versions of this scene (one for PCs, and one for Quest.) These have no options, and you just drag and drop a texture into the shader. It should look something like this:

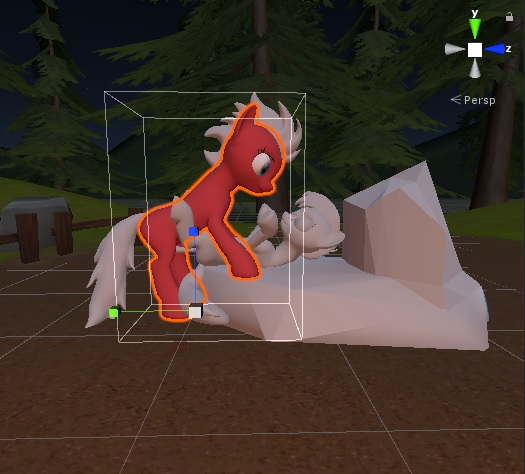
And the character in the scene looks like this:
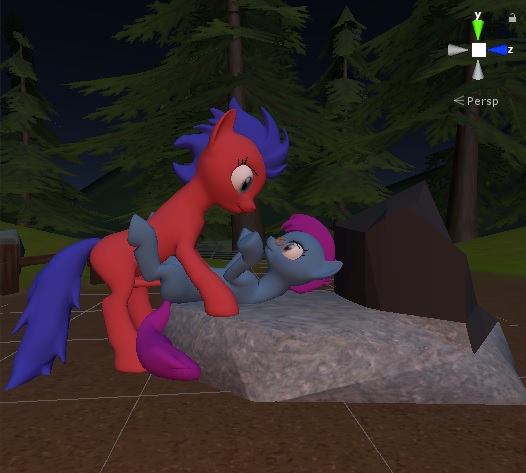
Now I’ll do it to all of the other objects, and make all the materials I need. After assigning materials and textures to everything, my characters now look like this:
Perfect! Now we can do lighting, which is super easy for outdoor scenes like this one.
Quick Navigation
Part 3: Setting up the Besti SDK
Part 4: Exporting your cartoon for Besti
Part 5: Importing your cartoon in Besti
Part 7: Materials (You are here)
