If you’re already experienced in 3D animation, you know what you’re doing for the most part even if you’ve never made something for a game before. If you are new to 3D animation, check out Youtube to see some tutorials on how to make 3D animations. The skills required to make a 3D animation to be rendered to video are identical to the skills you need to make game animations.
There are a few minor differences to be aware of when making a cartoon to be rendered in realtime opposed to one that can take 20 minutes per frame to render. In general, it should be pretty easy to optimize most 3D animations to be in a “game ready” state. Here are some points to consider:
- In VR, you give up control of where the user is looking. In a typical 2D animation, you position the camera and determine precisely where the viewer is looking. In 3D, where the user can look where he or she wants to look, you can’t “hide your crimes” off camera. The interaction needs to make sense from any angle.
- Rendering in realtime means you can’t use frame-by-frame modifier deforms, because that would be too difficult to compute (at present it’s impossible on all game engines.) This means no lattices or mesh smoothing/decimation modifiers are possible. The only means of movement and deformation are bones and blendshapes/shapekeys. If you are using a mesh modifier, it needs to be applied before you can export or you will lose your blendshapes in the transition.
- Polygon counts may matter, as the more polygons you have, the fewer people will be able to see what you have made at a good framerate. On Oculus Quest, your entire scene should be fewer than about 500,000 triangles. Oculus Quest is the lowest common denominator, so if you aim for that, almost everyone will be able to enjoy your content.
- You should use as few materials as possible. Atlas textures will usually permit you to condense your material needs down to just one or two 2K or 4K textures. Every material decreases performance, so the more you cut, the better your scene will run.
- Fancy particle systems made in Max/Blender will need to be re-created inside Unity’s particle system called “Shuriken.” It is a good particle system that can probably reproduce what you may have done, but there is no export/import mechanism that Unity can understand.
What’s a good 3D animation to use?
For the sake of the tutorial I’m going to use a fairly typical pattern. The idea will be to play an animation loop, and when the user is ready, he or she can move onto the next loop. I’ll take an animation I have that has several parts from Besti 8 to do this, because making an animation takes about 1 hour per second, per character.
This animation has 4 loops, and 3 transitions. The difference between them are that loops start and end on an identical frame, and transitions do not. Loops are designed to play in a loop, whereas transitions will be played when moving from one loop to the next.
This is what they look like:
Loop 1: (Start)
Transition to loop 2:
Loop 2:
Transition to loop 3:
Loop 3:
Transition to loop 4:
Loop 4: (End)
It won’t win any awards but these will do just fine. I don’t need transitions, but I have them, so I want to use them. The system can automatically tween the animations for us if we wanted it to, but having animation transitions makes it look a little more professional. My cartoon could have more or fewer steps, too. There’s no limit on that other than the time it takes to animate them.
Let’s consolidate everything into just a couple materials, and make everything look pretty in my 3D application.

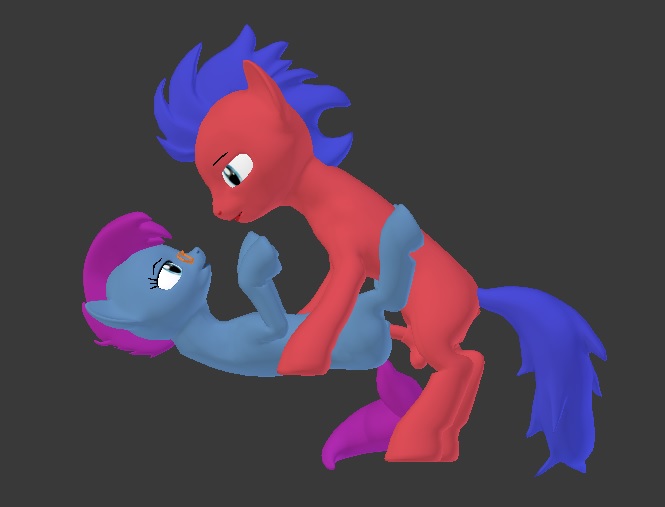
There we go. A couple of generic OCs. The scene itself will be an outdoor environment, so I’ll just build that inside of the Besti SDK. That’s it! We’re all set to bring this into the Besti SDK.
Next step: Setting up the Besti SDK
Quick Navigation
Part 2: Making your cartoon (You are here)
Part 3: Setting up the Besti SDK
Part 4: Exporting your cartoon for Besti
